Diablo
How to Easily Install Battle.Net and Diablo 4 on Steam Deck
Jul
As the highly anticipated release of Diablo 4 approaches in just a few days, we have been bombarded with numerous inquiries regarding the installation and operation of the game on the remarkable Steam Deck! Although we do possess a comprehensive guide on installing various launchers, including Battle.Net, it is more of a broad overview. Fear not, for here we will delve into the nitty-gritty details of Battle.Net installation, providing you with the simplest and most convenient method to get it up and running on your Deck.
For an intriguing insight into the Steam Deck’s gaming performance, delve into our Diablo 4 First Look and uncover the optimal settings we endorse thus far.
Installing Battle.Net with NonSteamLaunchers
Prior to indulging in our gaming session, it is essential to set up the Battle.Net launcher. Numerous approaches can be employed to accomplish this task, such as utilizing Lutris, directly installing the exe file, or employing Bottles. However, each method entails additional steps. Fortunately, we have the privilege of employing a remarkably user-friendly tool developed by moraroy. This tool not only facilitates the installation of the launcher within its designated prefix folder but also includes the installation of Proton GE. This enables you to conveniently utilize both the launchers and Proton GE in various scenarios.
Step 1:.
Feel free to grab the NonSteamLaunchers directly from the GitHub Releases page. To accomplish this, ensure that you acquire the Source code (in zip format). Be sure to opt for the latest version, which currently stands at 2.86.

Step 2:.
Unzip the downloaded file and extract the enclosed folder onto your desktop (or any desired location). The destination doesn’t hold importance since all the contents will be installed in a separate prefix directory.

Step 3:.
Give the NonSteamLaunchers.Desktop file a double click and initiate its execution. Remember to proceed with confidence by selecting “continue” when prompted.

Step 4:.
Choose any launchers you desire to install! Once you’re finished, simply click “OK” and let NonSteamLaunchers take charge! The software will effortlessly identify and install the most up-to-date Proton GE, subsequently utilizing the compatibility layer to automatically set up Battle.Net. If you prefer, you can also opt for the “Separate App ID’s” feature to organize each launcher into its own designated folder instead of having them all in one place.
The designated installation directory they commonly utilize is located within the shared prefix folder.
/home/deck/.local/share/Steam/steamapps/compatdata/NonSteamLaunchers
Step 5:.
Upon completing the installation procedures, the program will initiate a restart of Steam, thereby causing the shortcuts to manifest in the non-steam segment of your library. However, in my case, during the installation in Desktop mode, the program unexpectedly redirected me to big picture mode. Consequently, I had to manually exit big picture mode and navigate back to Game Mode, but rest assured, the shortcuts should still materialize.
Step 6:.
Once you have accomplished this task, there are two essential steps to consider: Firstly, ensure that the shortcut is set to exclusively utilize the latest version of Proton GE. Secondly, ensure that the controller layout is configured as “Gamepad with Joystick Trackpad”. It is highly advisable to customize the functionality of the right and left trackpads, transforming them into mouse-like controls to effortlessly navigate through the launcher.
Presently, you have the power to initiate and unlock Battle.Net. Upon doing so, a whole new realm of possibilities opens up as you gain the ability to effortlessly install an array of captivating games available within the latest launcher. It is worth noting that these installations will automatically occupy the internal storage, hence it is imperative to ensure that you possess sufficient space to accommodate them.
Downloading and Installing Diablo 4
With Battle.Net at our fingertips, it’s time to embark on the exhilarating journey of setting up and installing Diablo 4. The process may seem like a breeze once the launcher is in place, yet I shall guide you through it, leaving no stone unturned.
Feel free to proceed by selecting Diablo 4 and tapping on “Install”. Once there, you will have the opportunity to modify the installation directory and explore additional settings. Since it is situated in its exclusive prefix folder, I would advise against altering the installation location, unless you are well-versed in the process. However, if you possess the required expertise, you can make the necessary adjustments here. It is worth noting that I recommend refraining from creating a desktop shortcut, as the optimal gaming experience is achieved through Game Mode.

After clicking the continue button, it’s time to untick the “High-Resolution Assets” option. These assets are massive and mainly designed for resolutions higher than what the Deck’s screen can handle. By unchecking this, the installation size shrinks from 84gb to 46gb, freeing up a whopping 38gb of space. Now, let’s proceed with the installation!

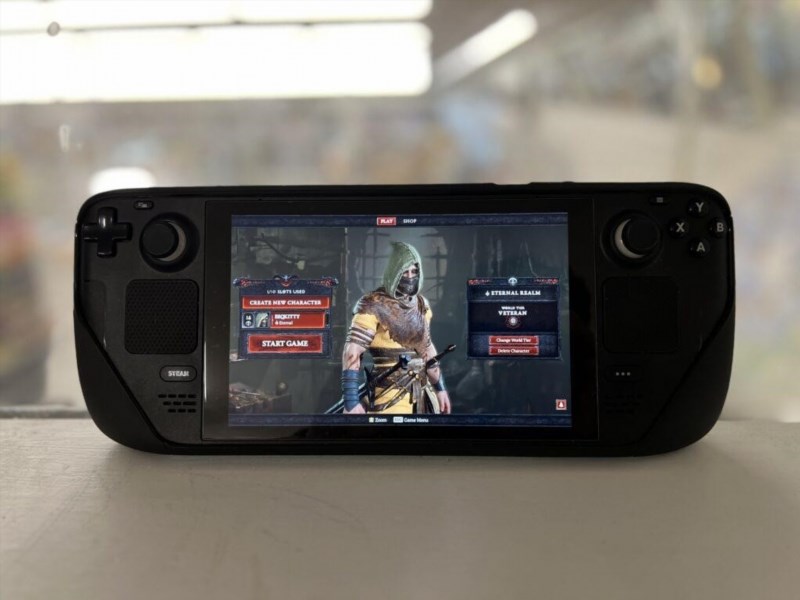
After accomplishing that, you will be fully prepared! The game shall be successfully installed, granting you the freedom to launch Battle.Net at your convenience and engage in thrilling gameplay. Bear in mind, this game solely operates online, hence a constant internet connection is imperative. Moreover, it boasts complete compatibility with various controllers!
Indulging in the enchanting world of Diablo 4 on the remarkable Steam Deck is like stepping into a surreal reverie. Although our comprehensive review is still underway, take a glimpse at our introductory exploration, where we delve into the optimal initial configurations for an immersive gaming experience!
If you found this guide to be enjoyable, make sure to explore the other captivating content available at SteamDeckHQ! Our extensive collection of game reviews and news is bound to enhance your gaming journey. Whether you seek the latest updates, valuable tips and tutorials, comprehensive game analysis, or simply wish to stay ahead of the curve, rest assured that we have got you covered.