Game
How To Show Light Levels In Minecraft?

Jun
Like, there is a whole world of stats out there to be discovered. You will know that the game can be a lot more intricate than it first appears, for those of us who have been playing Minecraft for a long time.
From that point forward, you have the complete ability to modify and enhance your gameplay once you discover these and examine them a bit. That will direct you towards the finest locations to excavate for diamonds and other precious and uncommon resources is that you can actually search for coordinates, one of these aspects that we find especially valuable.
Ultimately, it certainly saves you a considerable amount of time, and it becomes effortless once you are familiar with the process. While you are playing the game, the coordinates simply appear in the upper left corner if you utilize the chat bar in a manner that essentially allows you to easily access this information.
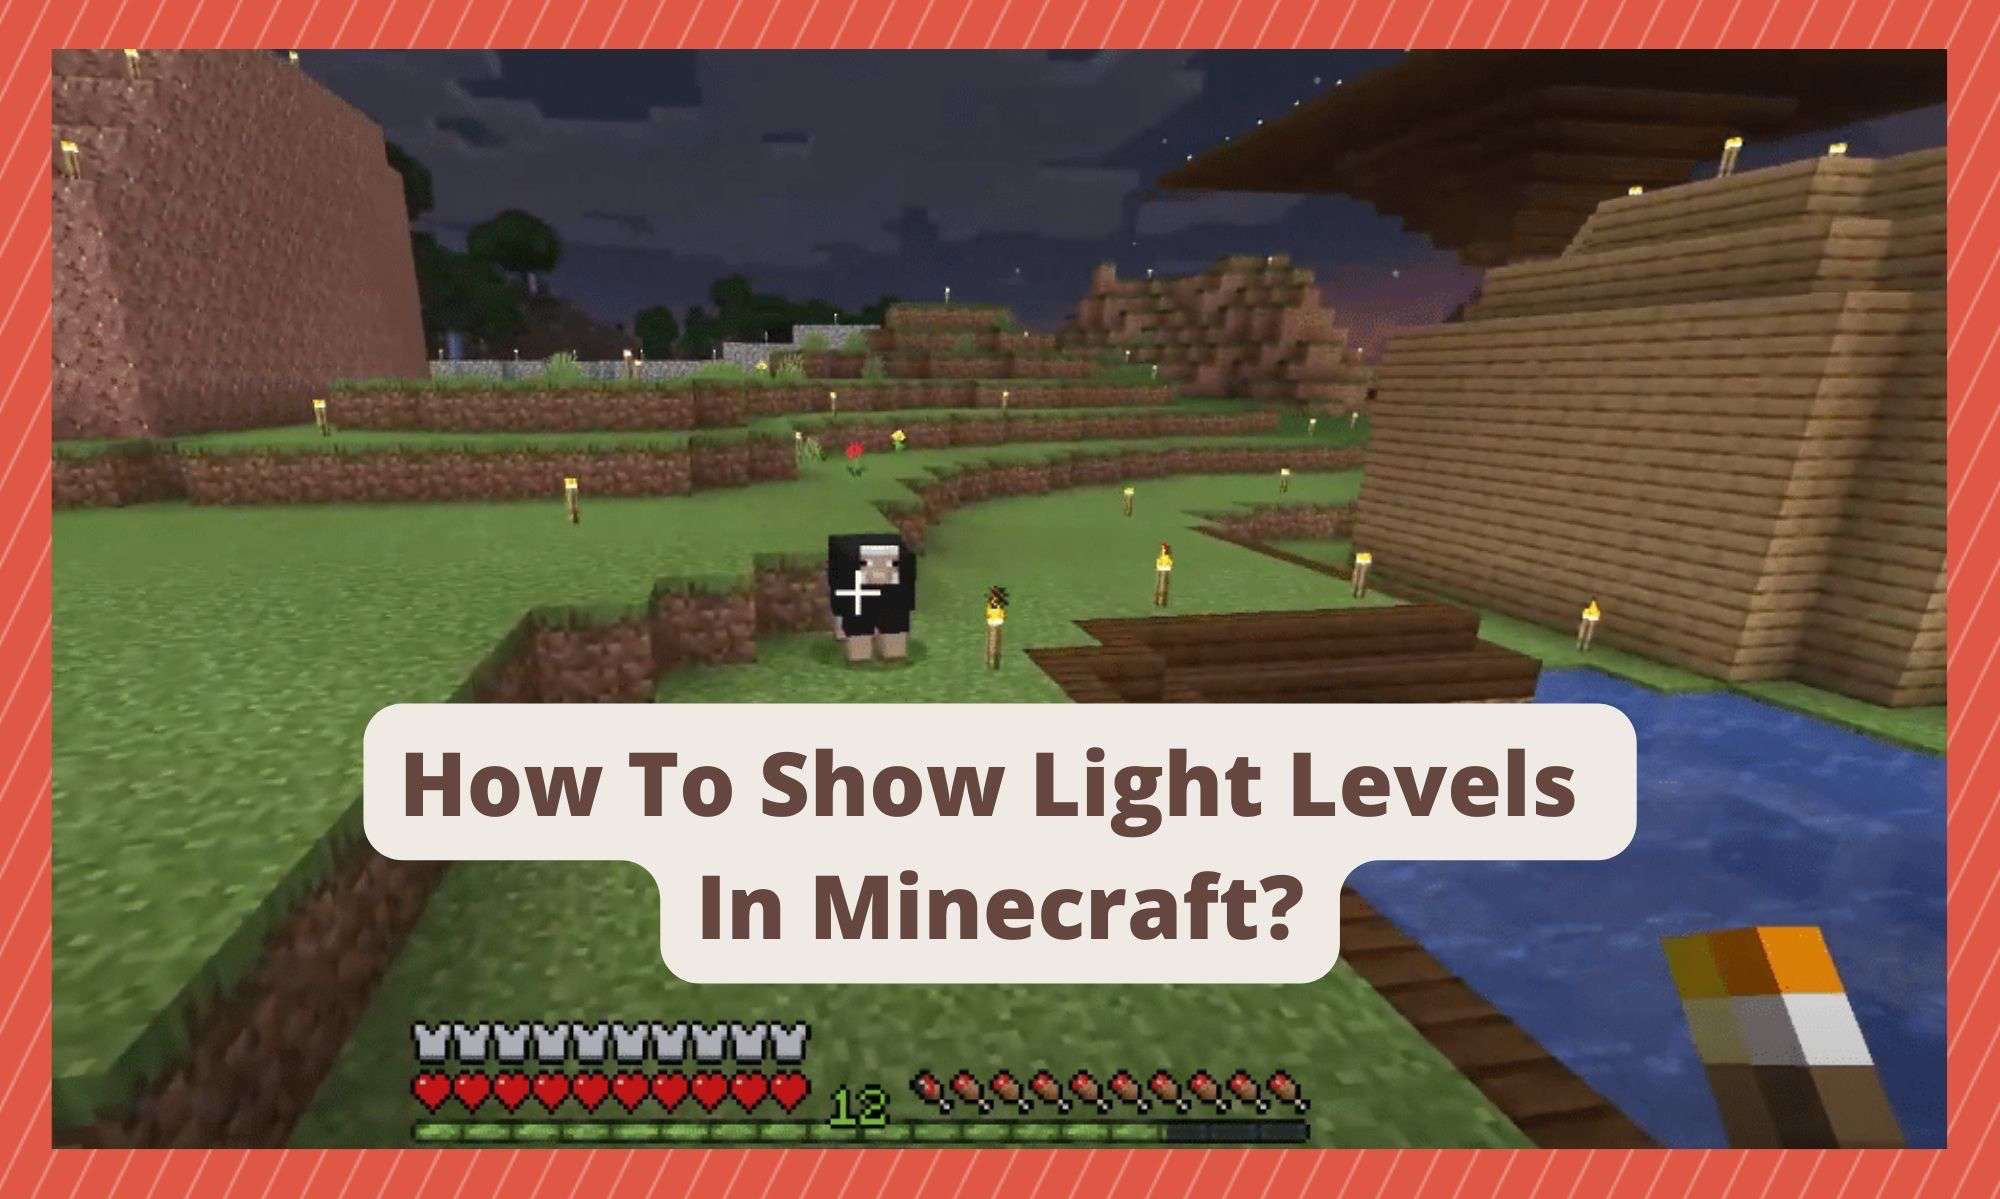
If you want to learn how to do this, for those of you who are interested, explore the base and mining areas where monsters spawn to assist you. Additionally, you can access light level information to help you navigate the same path.
At the lower section of the debug menu choices, the light source can be found. To accomplish this, the subsequent step is to locate the light source, which will prompt the appearance of the debug menu. Simply press the F3 function key to examine the light levels in Minecraft, as it is the simplest and most straightforward method.
Once you have accomplished that, you will effortlessly be able to perceive the regions that are not.
By a large margin, it is the most effortless approach to accomplish it. Additionally, we believe that this is the simplest technique for verifying brightness levels if you have no interest in installing any modifications. All in all, we discover that.
Because we are going through a couple of other options, you may find more useful ones. It is true that this menu can be a little tricky to read without any real degree of accuracy. However, there is always a downside that needs to be taken into consideration.
Method 2.
The subsequent technique is one that enables the player to decipher more effortlessly at which blocks creatures will emerge. In order to utilize this suggestion, we will employ the OptiFine + Danger Zone texture packs. By employing the OptiFine + Danger Zone texture packs, we will employ this suggestion to more easily decipher at which blocks creatures will spawn. The subsequent technique is one that permits the player.
Are you here to do the first thing that needs to be done? No, it doesn’t build more random destruction. You will be caught by the guard and there is a chance that you will encounter a creeper. This way, the chances of it being dramatically reduced.
The brightness levels will appear, and all you have to do is press F7. Typically, there is a slight variation between different versions of the mod, but you will be able to eliminate the areas with low lighting much more efficiently by utilizing the NEI modification. Furthermore, in addition to that.
If that is still not accurate enough for you, we have an alternative approach that might be suitable. This functionality enables you to precisely identify the specific regions with insufficient lighting and facilitates the generation of creatures. Moreover, it gets even better.
Method 3.
Instead of controlling the total levels of light in your game by managing it with a little bit more precision, we recommend opting for the mod Overlay Level Light. This mod allows you to see the exact light level of each and every block, which is essential for those of you who need it.
Method 4 – No modifications necessary!
To construct this item, you will only require an iron ingot and a redstone block. Additionally, there is the alternative to craft the item, which will inform you about the imminent danger.
If you don’t want to spend too much time starting at the light levels of this game, it’s pretty useful to add mods that avoid those great levels. Additionally, if you want to make the safe area and torch system pretty safe, you will need to chuck down all the levels. Once you hear this alarm going off, you will avoid it.
The Final Statement.
Here’s our approach on what is the best way to take for us mods – ensuring that we have areas that are light enough, fail-safe, effective, and make sure we are certain about them. Okay?
We believe that it is completely worthwhile, considering the minimal inconvenience required to install mods. While personal preferences may vary, the debuff menu simply falls short. When constructing extensive structures without the assistance of mods, it can be extremely challenging to determine the brightness levels. This is primarily why we express this viewpoint.
We appreciate and commend both you and us for not solely relying on moderators to determine whether players have “cheated” or not. It is always important to consider the inclinations and feelings of players, especially if moderators have to make decisions based on whether they have “cheated” or not. Additionally, there are also merits to maintaining the vanilla 100% game.
This will only be where you’re standing to look at the stats. You’re trying to figure out what’s going on, and you definitely need to use the F3 key to access the key statistics. It’s the little bit of information that really makes everything for you!
We all hope that we have found the best option for you, which is most suitable and provides the information you need. This is the topic we all have for this.